The following steps will explain how you can upload funds to your Cloudways account in a few easy steps.
Step #1 — Navigate to Account
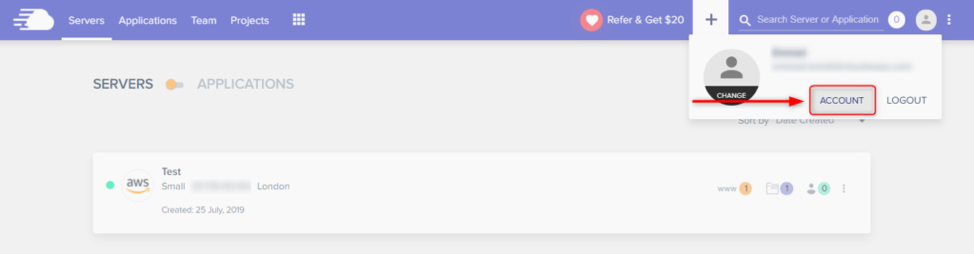
Log in to your Cloudways Platform using your email address and password.
- From the top menu bar, open Profile.
- Now, select Account.
Step #2 — Adding Funds
- Select Funds.
- Under My Funds, click Add Funds.
- Input Amount. ($20-$30 is enough)
- Choose the Payment Method.
- Finally, click Add Funds.


Now, if you have chosen a credit card, then it will lead you to the payment processor page, or if you have selected the PayPal option, then it will lead you to the PayPal page where you can complete the transaction. You will receive a confirmation email once funds are successfully added. That’s it! You have learned how to add funds to your Cloudways account.
When adding funds, $20-$30 is enough and will last for at least 3 months for the lowest tier plan. This is ample time while we work on your website.
And lastly, you will have to send us the login information of your cloudways account so we can start building your website immediately.
If you have any questions, please feel free to contact us via our website dahum.io, or email us at [email protected]. You can also DM us on Facebook or Instagram @dahuminc.